Installation Instructions
1) Raise the motorcycle so the rear wheel is slightly off the ground. Remove the 17mm nuts from the two link mounting bolts and push the bolts out the right side. The swingarm may need to be raised slightly to allow the bolts to slide out freely. After removing these two bolts the link will drop out the bottom and you are about ready to install the new link.
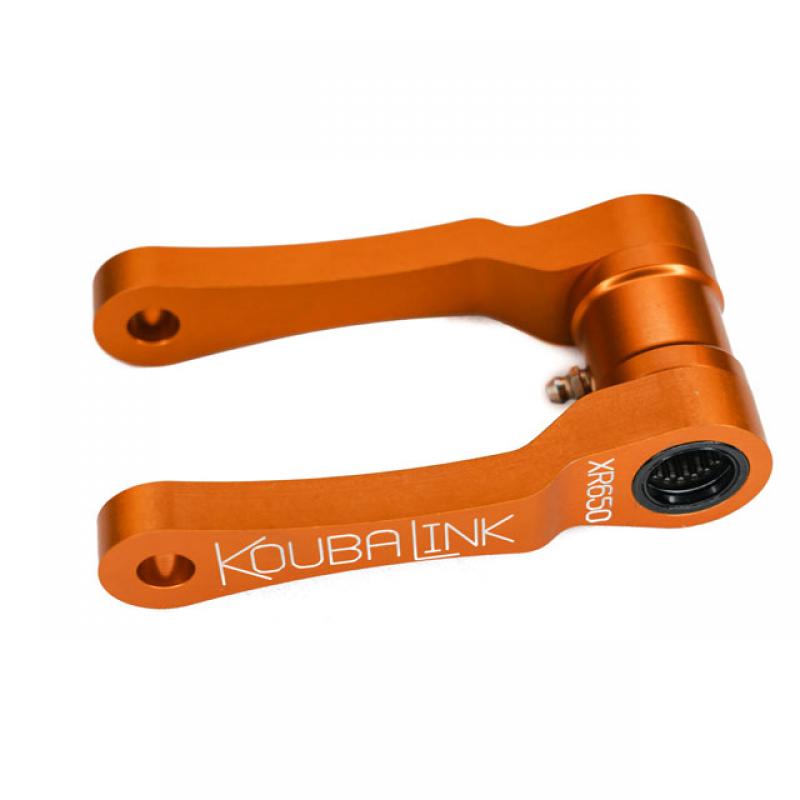
2) The new link comes with the bearings and seals, so put a little grease on the two needle bearings first and then install the "center sleeve" from your old OEM link into the KoubaLink. You are now ready to install the new link by holding it back in place with the bearing end forward and the engraving readable from the right side. After aligning the link eyes with the link mounts, push the mounting bolts back through from the right side. You will need to raise the swingarm to get the eyes to line up.
3) After installing the KoubaLink, make sure the grease fitting is facing downward. Left side engraving will be upside-down. You may want to pump a little grease into the grease fitting now before you torque the mounting bolt nuts as sometimes after tightening the nuts the air will not escape from the bearings and it can be difficult to get the grease in. Install the two 17mm nuts and torque to approximately 35 lb-ft.
4) For the 1.75 inch rear lowering, set the race sag (amount of vertical movement of the rear axle FROM no weight to bike weight plus rider weight) at 3.75 inch with rider in full riding gear, standing on the pegs. This sag adjustment can be changed by turning the two large nuts on top of the rear spring. More preload equals less sag, and less preload equals more sag. The Manufacturer's suggested way to change the preload adjustment is to loosen the top jam nut, lube the threads on the shock and turn the spring and all by grasping the bottom of the spring. It will turn easier if the rear wheel is off the ground.
- Turning the spring preload nuts clockwise will increase the preload and lessen the sag
- Turning the spring preload nuts counter-clockwise will decrease the preload and increase the sag
5) The front fork tubes can be slid up in the triple clamps until they almost touch the stock handlebars. The manufacturer does not recommend going farther than what the stock height handlebars will allow as it is unclear exactly when the front tire would be allowed to contact the underside of the fender when fully compressed.
If the front pushes or will not turn quick enough they recommend lessening the rear sag rather than sliding the fork tubes up farther.
Disclaimer: lowering the rear more than the front can change the geometry and could affect the handling, so be careful.


 View Order / Checkout
 Continue Shopping